How Do You Make Winter Wraps For Beehives? Crafting Cozy Winter Wraps for Beekeeping Success!
Winter can be a challenging season for beekeepers, but with the right preparation, you can ensure the survival and well-being of your beloved bees. One crucial aspect of winterizing your beehives is creating winter wraps. These wraps act as cozy blankets, providing insulation and protecting your buzzing friends from the harsh elements. How Do You Make Winter Wraps For Beehives? In this article, we will explore the step-by-step process of making winter wraps for beehives, ensuring that your bees stay warm and cozy throughout the chilly winter months. So grab your materials and get ready to create a snug haven for your buzzing buddies!

Understanding the Need for Winter Wraps
Why bees need protection during winter
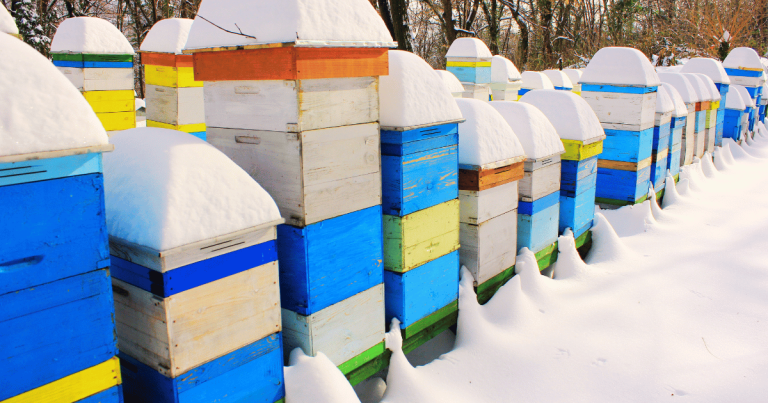
During the cold winter months, bees face many challenges in order to survive. Unlike during the warm seasons, when bees can forage for food and maintain their hive temperature, winter brings a scarcity of resources and harsh weather conditions. Bees cluster together in the hive to keep warm, but without proper protection, the cold can be detrimental to their survival. This is why winter wraps are essential – they provide insulation and protection to help bees endure the winter season.
How winter wraps can help beehives
Winter wraps act as a shield for beehives against the cold weather elements. By sealing the hive and providing insulation, wraps help maintain a stable temperature inside the hive, protecting the bees from freezing temperatures. Additionally, winter wraps can reduce moisture buildup and condensation within the hive, which can also be detrimental to the health of the colony. By minimizing heat loss and moisture infiltration, winter wraps play a crucial role in supporting the overall well-being and survival of the bees throughout the winter season.
Choosing the Right Materials for Winter Wraps
Pros and cons of various wrap materials
When it comes to choosing the right materials for your winter wraps, it is important to consider the pros and cons of each option. There are a variety of materials available, such as burlap, bubble wrap, and insulation foam. Burlap is a popular choice as it provides breathability and some insulation. Bubble wrap is another option, offering good insulation properties and moisture resistance. Insulation foam provides exceptional insulation but may limit ventilation. It is essential to weigh the advantages and disadvantages of each material to determine which is most suitable for your climate and the specific needs of your bees.
Selecting materials based on your local climate
The choice of materials for your winter wraps should be influenced by the climate in your area. If you live in a region with mild winters, a lighter material such as burlap may be sufficient to protect the hive. However, in colder climates with harsher winters, a more insulating material like bubble wrap or insulation foam may be necessary. It is important to research the specific requirements for your local climate and consult with experienced beekeepers in your area before making a decision. By selecting materials that are best suited to your climate, you can ensure that your winter wraps provide optimal protection for your beehives.
Preparing Your Beehive for Winter
Checking the health and strength of the bee colony
Before preparing your beehive for winter, it is crucial to take the time to assess the health and strength of the bee colony. Ensure that your bees have enough food stores to sustain them throughout the winter months. Conduct a thorough inspection of the hive to check for any signs of disease or pests. Make sure the colony is strong and has enough bees to generate heat and protect the queen. It is advisable to consult with a local beekeeping association or an experienced beekeeper for guidance on preparing your hive specifically for your region’s winter conditions.
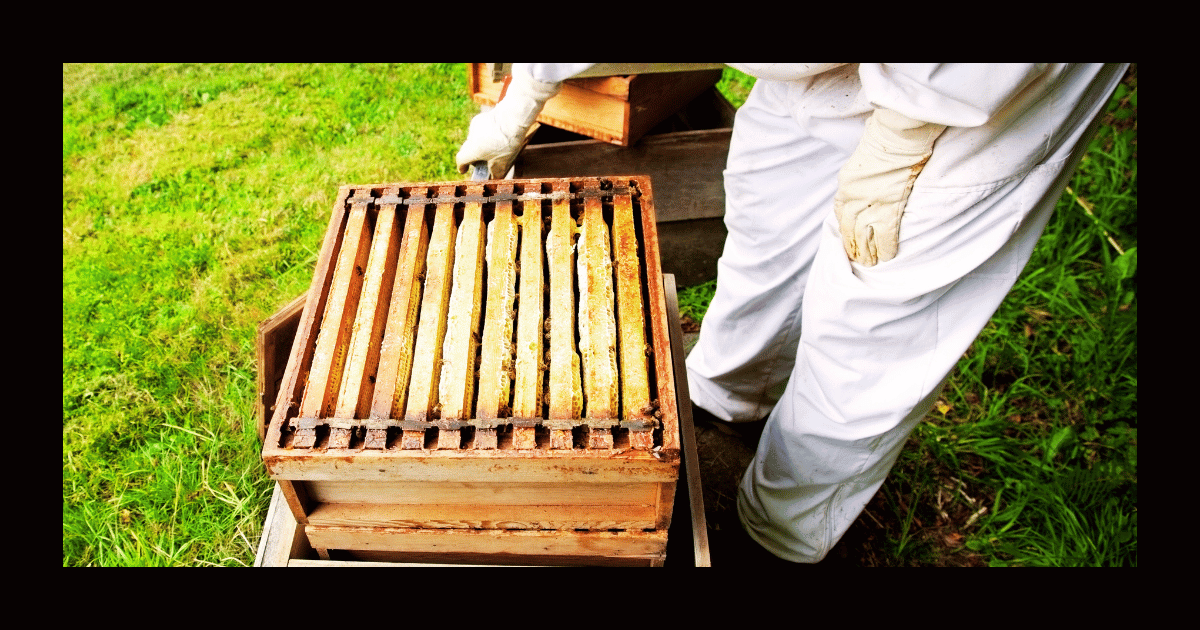
Cleaning and maintenance of the beehive prior to wrapping
Cleaning and maintaining the beehive prior to wrapping is an important step in preparing for winter. Remove any debris or excess honeycomb from the hive to prevent pests and diseases. Inspect and repair any damaged components, such as frames or lids, to ensure the hive is secure and well-maintained. This is also an ideal time to treat the hive for any known pests or diseases, as prevention is key in ensuring the survival of the colony during winter. By taking the time to clean and maintain your beehive, you provide a clean and healthy environment for your bees to enter the winter season.
Measuring Your Beehive for the Wrap
Taking accurate measurements
Before creating your winter bee hive wrap, it is essential to obtain accurate measurements of your beehive. Measure the length, width, and height of the hive boxes, making sure to account for any additional equipment or feeders that may affect the overall dimensions. Take multiple measurements to ensure accuracy, as even slight variations can impact the fit of the wrap. It is recommended to measure while the hive is still assembled, as this provides a more accurate representation of the final dimensions. Proper measurements will allow you to create a tailored and effective winter wrap for your beehive.
Calculating required materials based on size of beehive
Once you have obtained accurate measurements of your beehive, you can calculate the required materials for your winter wrap. Consider the dimensions of your hive, the desired thickness of insulation, and any additional factors such as wind exposure or moisture levels in your area. This calculation will help determine the amount of wrap material needed to adequately cover and insulate your hive. Be sure to account for any extra material needed for overlap and securing the wrap in place. By accurately calculating the required materials, you can minimize waste and ensure your winter wrap provides optimal protection for your bees.
Creating your Beehive Wrap Pattern
Designing a wrap pattern that suits your beehive
Designing a wrap pattern involves creating a template that fits the dimensions and structure of your beehive. Using the accurate measurements obtained earlier, trace those measurements onto a suitable material, such as kraft paper or cardboard. Cut out the template and carefully lay it over the chosen wrap material. Ensure there is enough material to cover the sides, top, and bottom of the hive with some overlap for securing purposes. Adjust the pattern as necessary to create a snug fit that will effectively insulate and protect your beehive. Each hive may have unique dimensions, so creating a custom pattern ensures a perfect fit.
Customizing your pattern to suit the specific needs of your bees
In addition to creating a wrap pattern that fits your beehive, you can customize it to suit the specific needs of your bees. For instance, if you have a hive with a weaker colony, you may want to add extra layers of insulation to provide more protection from the cold. Conversely, if you have a strong and active colony, you might opt for a slightly thinner wrap to allow for better ventilation. A custom pattern allows you to adapt to the unique characteristics of your bees, ensuring their comfort and well-being during winter.
Crafting the Winter Beehive Wrap
Step by step process to assemble the wrap
Crafting the winter beehive wrap is a straightforward process when following a step-by-step approach. Begin by laying the wrap material flat and placing the template on top. Cut the wrap material according to the template, ensuring clean edges. Once the wrap pieces are cut, position them around the hive by wrapping them tightly, ensuring that all sides are adequately covered. Use appropriate fasteners, such as tape or string, to secure the wrap in place. If using multiple layers, ensure each layer overlaps to reduce the risk of cold air seeping in. Carefully smooth out any wrinkles or creases to ensure a snug fit that provides optimal insulation.
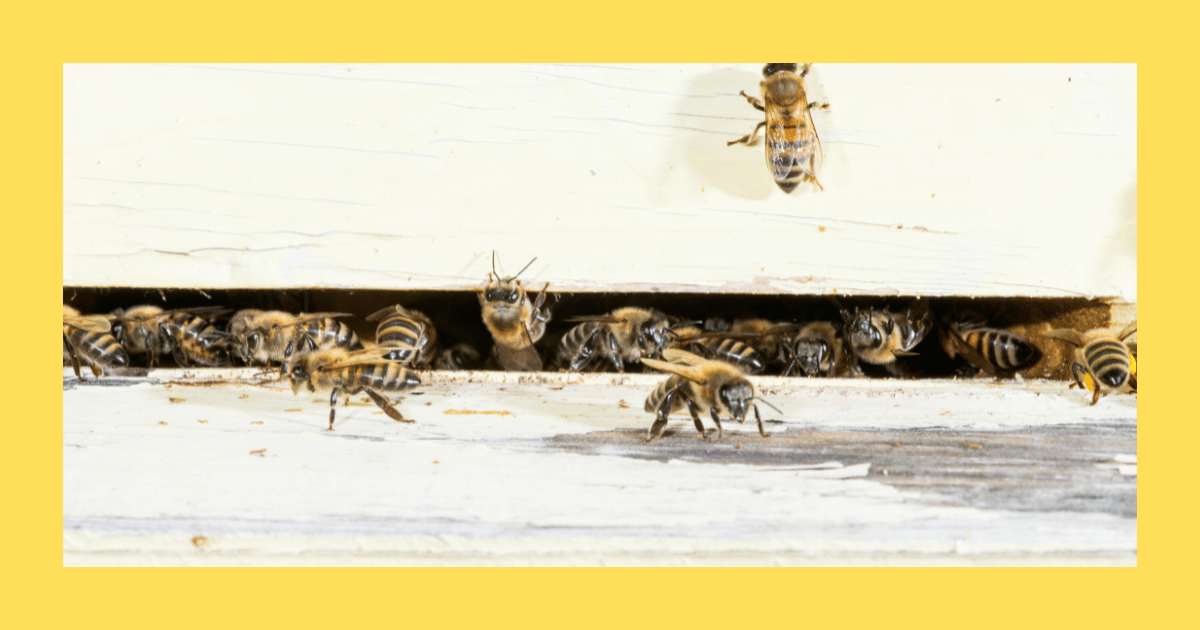
Ensuring the wrap provides adequate ventilation
While the primary purpose of a winter wrap is to insulate the hive, it is essential to ensure adequate ventilation to prevent issues such as condensation buildup or poor air quality. To provide ventilation, consider leaving a small gap near the entrance of the hive or incorporating small vent holes into the wrap design. These openings allow for proper airflow while still maintaining the necessary insulation. Monitoring the hive regularly throughout the winter will help you assess if the ventilation provided by the wrap is sufficient or if adjustments are needed.
Securing the Winter Wrap on the Beehive
Attaching the wrap securely
Securing the winter wrap on the beehive is crucial to ensure it remains in place throughout the winter season. Depending on the wrap material chosen, you have several options for attachment. String or twine can be used to tie the wrap at the top, ensuring that it snugly covers the hive. If using a more rigid material, such as insulation foam, you might consider using clips or straps to secure it firmly in place. The goal is to prevent any gaps or openings that could compromise the insulation and protection provided by the wrap. Take the time to secure the wrap properly, as this will contribute to the effectiveness of winterization efforts.
Testing the wrap setup for potential issues
Once the wrap is securely attached to the beehive, it is important to test the setup for potential issues. Check for any gaps or areas where pests or moisture might penetrate. Inspect the ventilation openings to ensure they are functioning as intended. Observe the hive for any signs of stress or discomfort, such as excessive condensation or unusual activity at the entrance. Testing the wrap setup allows you to identify and address any problems before winter fully sets in, maximizing the chances of a successful outcome for your bees.
Monitoring the Beehive During Winter
Routine checks for pests and disease
Monitoring the beehive during winter is crucial for early detection of pests and diseases that might threaten the colony. Although bees are less active during this time, it is still essential to periodically inspect the hive for any signs of infestation or illness. Look for indicators such as mites, mold, or unusual odors. If detected, take appropriate action to address the issue promptly. By continuously monitoring the hive, you can intervene and prevent potential catastrophe, ensuring the health and survival of your bees throughout the winter season.
Replacement of the wrap if necessary
In certain situations, the winter wrap may need to be replaced during the winter season. If the wrap becomes damaged due to external factors such as snow, wind, or pests, it may no longer provide the necessary insulation and protection. Regularly inspect the wrap for any signs of wear and tear. If there are visible gaps or leaks, or if the wrap has been significantly compromised, it is advisable to replace it with a new one. Taking proactive measures to maintain the integrity of the wrap ensures your bees receive the necessary winter protection they need.

Troubleshooting Common Problems
Addressing problems such as condensation and ventilation
Condensation and ventilation issues are common problems that beekeepers may encounter when using winter wraps. Excessive condensation can lead to the development of mold or other moisture-related problems. If condensation is an issue, it may be necessary to adjust the ventilation openings in the wrap or add additional ventilation features to provide better airflow. However, it is crucial to strike a balance to prevent excessive heat loss. Regularly inspect the hive for signs of condensation and adjust the wrap if necessary to maintain optimal conditions for the bees.
Tips on adjusting the wrap for unexpected weather changes
Unpredictable weather changes can pose challenges for beekeepers and their winter wraps. If unexpected warm periods occur during winter, bees might become too warm inside the hive. In these situations, consider temporarily removing or loosening the wrap to allow for better airflow and heat dissipation. Similarly, if sudden cold snaps occur, additional layers or insulation may be necessary to provide extra protection. The key is to monitor weather conditions closely and be ready to adjust the wrap accordingly to ensure the comfort and safety of your bees.
Removing the Wrap and Spring Prep
Safely removing the wrap as winter ends
As the winter season comes to an end, it is crucial to safely remove the wrap from the beehive. Before doing so, check the weather forecast to ensure there are no further cold snaps or harsh conditions expected. Properly remove any fasteners such as straps or ties, being cautious not to disturb the bees or cause any damage to the hive. Gradually unwrap the hive, giving the bees time to adjust to the changing conditions. Carefully inspect the hive for any signs of damage or pests that may have occurred during the winter months. By safely removing the wrap, you facilitate a smooth transition for your bees as spring approaches.
Preparing the beehive for spring and summer
After removing the winter wrap, it is time to prepare the beehive for spring and summer. Assess the overall health and strength of the colony, checking for the presence of a queen and adequate stores of food. Replace any damaged frames or components as necessary. Clean the hive thoroughly to remove any debris or remnants left over from the winter. This is also an opportune time to perform routine maintenance tasks such as painting or repairing any structural issues. By properly preparing the beehive for spring and summer, you set the stage for a successful and productive season ahead.